Slave Leia, a tale of many resins ;)

Ideas, tutorials, questions relating to armour, costumes and replica props from the Star Wars universe
User avatar
mdb
Captain
Captain
Posts: 400
Joined: Fri Mar 05, 2010 9:48 am

Slave Leia, a tale of many resins ;)

Post by mdb »

So the iconic metal bikini. I have wanted one since I was very little and well before I understood the other charms of it ;)

To me it was the costume Leia kicked butt in ;)

So after the influx of amazing high resolution photos of this costume that have come through in the last few years I finally took plasticine and tools in hand and created the costume I have loved all these years :)

And it only drove me a little insane ;)

The Making:

Resin/solid parts:
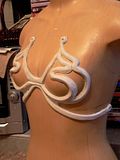
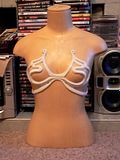
I started wondering how on earth I was going to mold and cast the bikini top and boot cover portions first. I knew I could make flat back molds of most pieces and use timing and patience to then shape them around forms.
I took far too long pondering this so just started sculpting anyway ;)
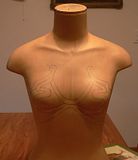
Image Image Image
I was very lucky that this mannequin was for sale at a store that was closing down. It is an idealised version of me and so has been the base of a number of projects (including the support for my Witchblade costume).

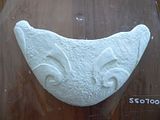
I then started sculpting the other parts:
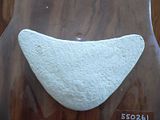
Image Image Image Image
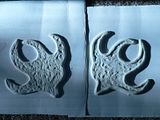
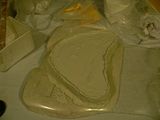
And then making a silicon mold with plaster jacket for each piece:
Image

I wound up resculpting several times and eventually did everything bar the bikini top as a flat back.


I tested some pieces and tried shaping after curing with heat. It worked but wasn't permanent. It was then I realised I would have to cast in the morning and shape over forms in the afternoon.
Ah yes. This was resin 1- West systems. Yes. QUite a steep learning curve with that one in terms of learning about container sizes and volumes to be mixed at a time. Whoosh! Smoke but luckily not flames at one stage ;)
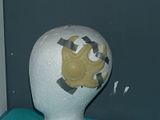
Image
The centre of the hair pieces were too thick for the West system so cured very quickly and went rigid before I could shape them. I managed to get a copy though that I like. Though when the weather is warmer again I will recast them from my newer resin :)

I made a few test pieces and as this was over a few months I found more photos to show more details I hadn't seen so I redid a few more parts ;) Including the bikini.
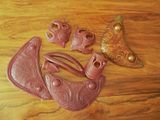
Image

I also tried the skirt plates in bondo over a support as I could quickly shape it. It worked but was too heavy.

The boot decorations were also eventually sculpted flat and shaped over a form. Here is one cured and shaped before filling and painting:
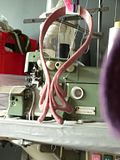
Image

Meanwhile the bikini top was sculpted have the silicon mold made and the plaster jacket:
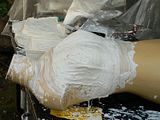
Image
With still no idea how to cast from it! With a flat back you can pour the sticky resin in and leave it to settle, with a shaped open mold you can't.

I did purchase some Trowel On urethane resin (resin 2!) to test and it worked but was too brittle for the straps. I noticed in some images of the original that they had the same trouble, in fact there are shims riveted to the sides and back of the straps as extra support.
Being a little bit of a reformed physicist I was a bit wary of using wire in the support or rivitting shims. They create weak points, I toyed with gluing the broken urethane bikini top to a styrene base (one giant shim if you like) in case my next cunning plan (Baldricks need not apply) did not work.
I meanwhile used up the rest of the Trowel On on the skirt plates.

I decided to shell out for resin the third (3!) and tested the powers of Ados and filler and matting to support the skirt plates. It worked! And with the filler it created a pastes that could be laid up vertically and not drip or slouch :)

So taking this into consideration I decided the bikini top could perhaps be fibreglassed instead of being just resin. The matting after all helps is support and helps with reducing weight.
I am very pleased to say it did indeed work and it perhaps the lightest and strongest bikini out there ;) It was a *little* fiddly I admit getting the matting in and I had to fill a few bubbles that were created as the matting lifted while I was working with it.

Fabric pieces:
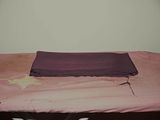
I also found an ideal fabric for the skirts. This is a stretch silk charmeuse but a charmeuse with a very matt finish rather than glossy. It was however a mushroom brown so I overdyed with violet to get what I believe to be the original colour:
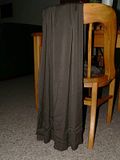
Image Image
The skirt colous shows up differently under different lighting conditions. I do know how certain lights make shades more blue (flash) or more yellow and working backwards from there tried to get a colour that would react the same under all those conditions. I'm glad to say mine does :) Except it confuses people who see it in person because they are used to the muted publicity photos ;)

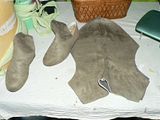
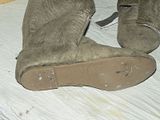
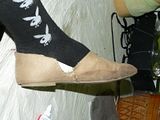
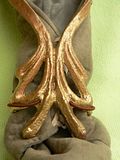
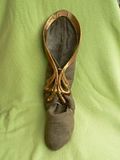
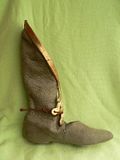
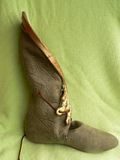
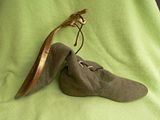
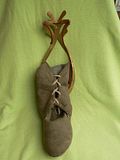
I have to admit a love for my boots :) I went a little crazy and made them so they did not look like a make over ;) To the point I used shoe dye stripper to unstick the edges of the sole from the bottom of my shoes and inserted the fabric using a blade. This also intailed sheering off the backing of the faux suede as it was a jacket weight fabric.
Image Image Image

Props:
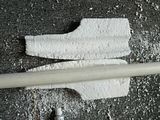
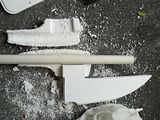
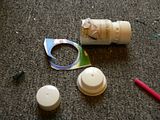
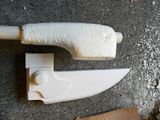
I also made the Vibro Axe, this time from a mix a parts and scratch building:
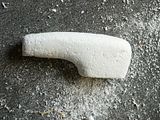
Image Image Image Image Image Image
User avatar
mdb
Captain
Captain
Posts: 400
Joined: Fri Mar 05, 2010 9:48 am

Re: Slave Leia, a tale of many resins ;)

Post by mdb »

The details:
Boots:
Image Image Image Image Image Image Image Image
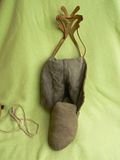
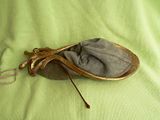
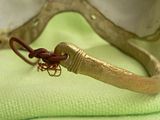
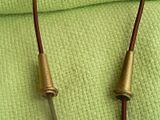
OK, so the other reason I love my boots is they function as the originals do. I had noticed the originals have holes drilled for the top part to be sewn to the boots and that the bottom part had holes for leather thonging to be passed through to hold it to the ankle.
I used a heavy elastic for the thinging as I was going to be putting this on myself and the angles of stress would possibly cause undue pressure on the resin and cause it to snap.
The boots themselves also lace up with more thonging and again I went for elastic due to self dressing and not having a team of wardrobe people behind me to repair things that fell off or broke ;)
The last photo shows how they also fold up for easy storage or transport.

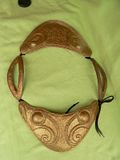
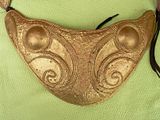
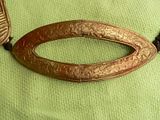
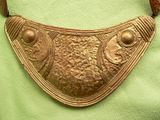
Collar, bracelets:
Image Image Image Image
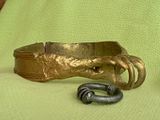
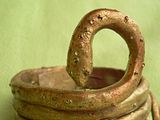
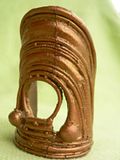
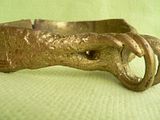
Again all flat cast sculpted, molded and cast. Note the snake has little eyes an mohawk ;) I loved this feature in the original, thought it was cute and a little bit of humour in a costume that can be taken too seriously ;)

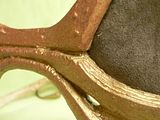
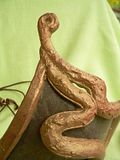
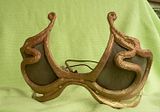
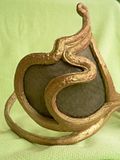
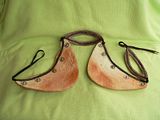
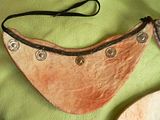
The bikini top!
Image Image Image Image Image Image
A few details got lost so had to be dremeled in after, and I originally was not going to add all the little bubbles all over the piece. But I grew to like them as I added them over time. And yes, I carefully placed each one according to photos. No they are not absolutely perfectly aligned due to the details not always showing up well and also due to ... different tracts of land. And we shall leave it there.
For safety I glued myself in. Pros Aide along the inside neckline and outside curve.


Skirt plates:
Image Image Image Image Image Image Image
Super sized snap fasteners to keep the skirts in place but removable for washing.
Another feature I notice was that the skirt was closed over the left hip with another piece of thong. I decided I would again use this feature but as leather does break down over time and the break point would be right at the connection between the plates I used a brown flat shoe lace. This was able to be glued and have the glue embed the lace so it would not peel away. I did leave the ends longer than need be as I like to double and triple knot these things! But I will cut and seal the ends before I either display or wear this again.
Note the wee zig zag detail at the points. This is another feature only visible in good quality exhibit photos so I again thank those who share their information :)
This was glued to me when I wore it. Pros Aide along the top edge of all plates and carefully placed to set.

Earrings and hair slides:
Image Image
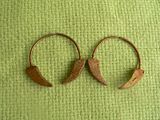
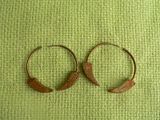
These earrings are made in a way I believe the originals to be. Again exhibit photos show some raw edges where the earrings sit in the various mannequin ears. This suggests a cut edge. So I curved and cut several small pieces of brass tubing to shape and size and glued earring posts in the front curve. The posts were sanded down to fit into the tubing and the friction helps keep them in place. What further helps is a little dab of Pros-Aide at the front and back ;)
The tooth shapes were made from bondo in another flat back silicon mold with a holf for the tubing to rest in. The original tooth was made from spare Forex I whittled to shape.

Image Image
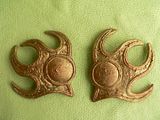
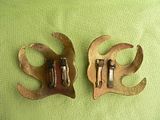
As seen before but now with two banana clips glued in behind. I wish I were kidding about the name ;) The two help the slides to sit partially against my head and partially against the bun.
Image Image
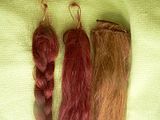
I knew I was not going to fool anyone into thinking I thought I looked like Carrie in the movie ;) So dyeing my hair dark brown was just not going to happen. I also knew my own hair was going to wash out as the colour of the "metal" paint was too close to my own hair. So I decided to be bold and go for a totally unnatural red that I do love ;) So my hair pieces needed to be coloured to match.
I too apart two cheap wigs and used the longest wefts for the plait and the regualr lengths for the bun which was to be twisted with my own hair.
To colour I used a mix of acrylic inks and permanent markers. This caused the hair to be quite crunchy but it was not obviously so. I have since given them all a good comb with silicon spray and they have just come up beautifully. I wore them again recently at Wellington Armageddon in another costume entirely.

Travel:
Image
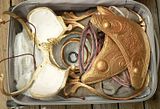
Everything stacks inside each other to be transported in carry on :) Aside from the Axe. That breaks down into four parts for travel in checked luggage.
User avatar
mdb
Captain
Captain
Posts: 400
Joined: Fri Mar 05, 2010 9:48 am

Re: Slave Leia, a tale of many resins ;)

Post by mdb »

As worn:
Image Image Image Image Image
Thansk to Kristy for these photos :) I also took an opportunity with a wonderful photographer to get a whole series of photos taken. I think she manage to capture a lot of the feeling that I felt when watching the scenes Leia wore this in.
User avatar
oota goota
High Colonel
High Colonel
Posts: 1908
Joined: Tue Mar 23, 2010 12:08 am
Country: New Zealand
Location: Taranaki
Contact:

Re: Slave Leia, a tale of many resins ;)

Post by oota goota »

Hey Mdb fantastic work! Wow that looked like a lot of effort :) Your sculpting and scratch building looked great. That outfit required alot of skill sets finish wow!
User avatar
MattG
Site Admin
Site Admin
Posts: 4921
Joined: Tue Nov 10, 2009 5:46 am
Country: New Zealand
Location: Auckland

Re: Slave Leia, a tale of many resins ;)

Post by MattG »

Nice write up - there is a lot more detail, and numerically, more components, to this costume than initial impressions suggest.

Your end product looks great, and appears to have been well earned.
User avatar
Anaria
Colonel
Colonel
Posts: 975
Joined: Mon Nov 16, 2009 7:30 am
Country: NZ
Location: NZ
Contact:

Re: Slave Leia, a tale of many resins ;)

Post by Anaria »

Such an amazing amount of work! Your eye for detail really shows, and learning complicated scultping/casting techniques is an inspiration :)

You looked amazing in person, the vibro axe was a great addition :) Love that you made accurate earrings too! :)
Rebel Legion - former LAC
Costume website FB page SWNZ FB

Image
User avatar
mdb
Captain
Captain
Posts: 400
Joined: Fri Mar 05, 2010 9:48 am

Re: Slave Leia, a tale of many resins ;)

Post by mdb »

Jon: Thank you :) It was the molding that had put me off from doing anything like this for so long. Aside from the fact that I hate plaster with an irrational fiery burning passion, heavy molds are not really something I should carry about ;) This is why.
But luckily the flat open casting means reduced weight and I can carry these things easily :) All of them fit in a drawer of Stuff which is nice too :) I have a Padme headpiece in there I am going to cast from soon as well :)

Matt: Thank you :) Yes, a lot more :) Mainly once you start factoring in all the steps involved in each part ;)

Kristy: Thank you :) I adore the earrings :) They are so fun :) And a nice segway into the next pair I will be making, also based on a hoop with pointy bits ;)
User avatar
Deadalus Thorn
Ensign
Ensign
Posts: 77
Joined: Sun May 30, 2010 9:58 pm
Country: New Zealand

Re: Slave Leia, a tale of many resins ;)

Post by Deadalus Thorn »

That is an Amazing piece of craftsmanship (or craftWOmanship as the case should be :) )
Very nice, and a very keen eye for detail as always.

Kind Regards
Dave
Kind Regards
Deadalus Thorn

Feel free to join our Facebook group
SDT replica props and costumes
http://www.facebook.com/#!/group.php?gi ... 108&ref=mf
User avatar
mdb
Captain
Captain
Posts: 400
Joined: Fri Mar 05, 2010 9:48 am

Re: Slave Leia, a tale of many resins ;)

Post by mdb »

Thanks Dave :)

I am so eternally grateful for all those who have posted photos of the real deal online. It was all the crazy little details that really made me fall in love with the costume on a geeky costume level, beyond the fondness I had from childhood memories and the overall slightly Nouveu feeling to it.

It was a really amazing journey to work on it too. There were questions I asked and wound up solving myself as I was not in a workshop where I could injection mold (boy would that have saved me time and effort and hair).

The work was tremendously satisfying.
User avatar
Deadalus Thorn
Ensign
Ensign
Posts: 77
Joined: Sun May 30, 2010 9:58 pm
Country: New Zealand

Re: Slave Leia, a tale of many resins ;)

Post by Deadalus Thorn »

I think its Awesome, and I mean that hand on heart :)

No dis-respect, but I will be honest.
when I saw you at Geddon I just thought you had bought a kit, but after reading how you made this from scratch just made me sit in awe of your skills :)

you are truely a talented lady, and I cant wait to see what you achieve next. whatever it is I am sure it will have your keen eye for detail crafted into it.

Kind Regards
Dave
Kind Regards
Deadalus Thorn

Feel free to join our Facebook group
SDT replica props and costumes
http://www.facebook.com/#!/group.php?gi ... 108&ref=mf
Post Reply